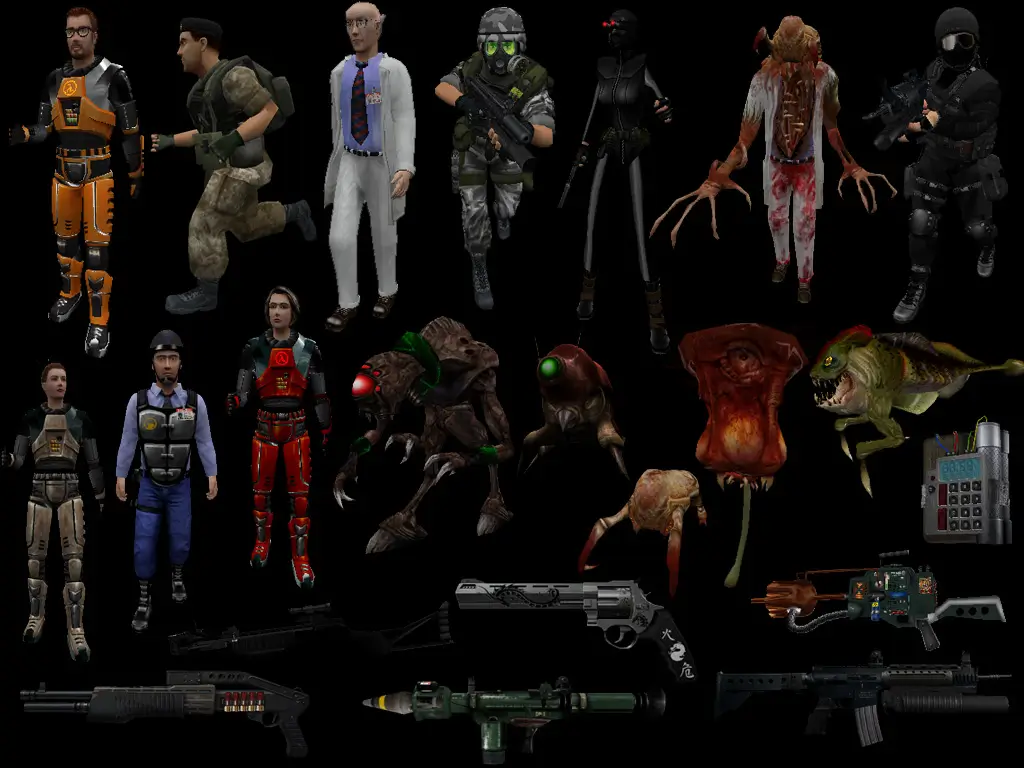
Half-Life, Blue Shift, and Opposing Force received an update release to celebrate the 25th year anniversary! It’s Mac-compatible…Yay! – But only for 32-bit OS X…? Nay 🙁
Well there’s a fix for that! 64-bit native Half-Life for Mac.
Thanks to the fantastic work to recreate the original Half-Life Engine through an open source project called «Xash3D», combined with a native 64-bit Mac Source Port-build, you can actually play the full «Half-Life 1 Anthology» natively on ARM-based Apple Silicon & today’s macOS. To make it even better: with some tweaks, it’ll launches directly from the Steam App on Mac.
— Table of contents —
- Install Half-Life from Steam on Mac
- Download Xash3D-FWGS Map App
- Modify the Steam Half-Life game files
- Optional game configuration improvements
- Play the modified Half-Life through Steam
- Add high-definition Maps, Textures, and Models to Half-Life
Install a Half-Life Anthology game via Steam on Mac
First things first: obtain and install Half-Life via Mac Steam
- Download and install Steam for Mac
- Obtain any of the Half-Life 1 Anthology game(s) from the Steam Store
- Install the game to your Steam library
For native Mac play: obtain the Mac App of Xash3D
Download and unpack the Mac Source Port of «Xash3D-FWGS»:
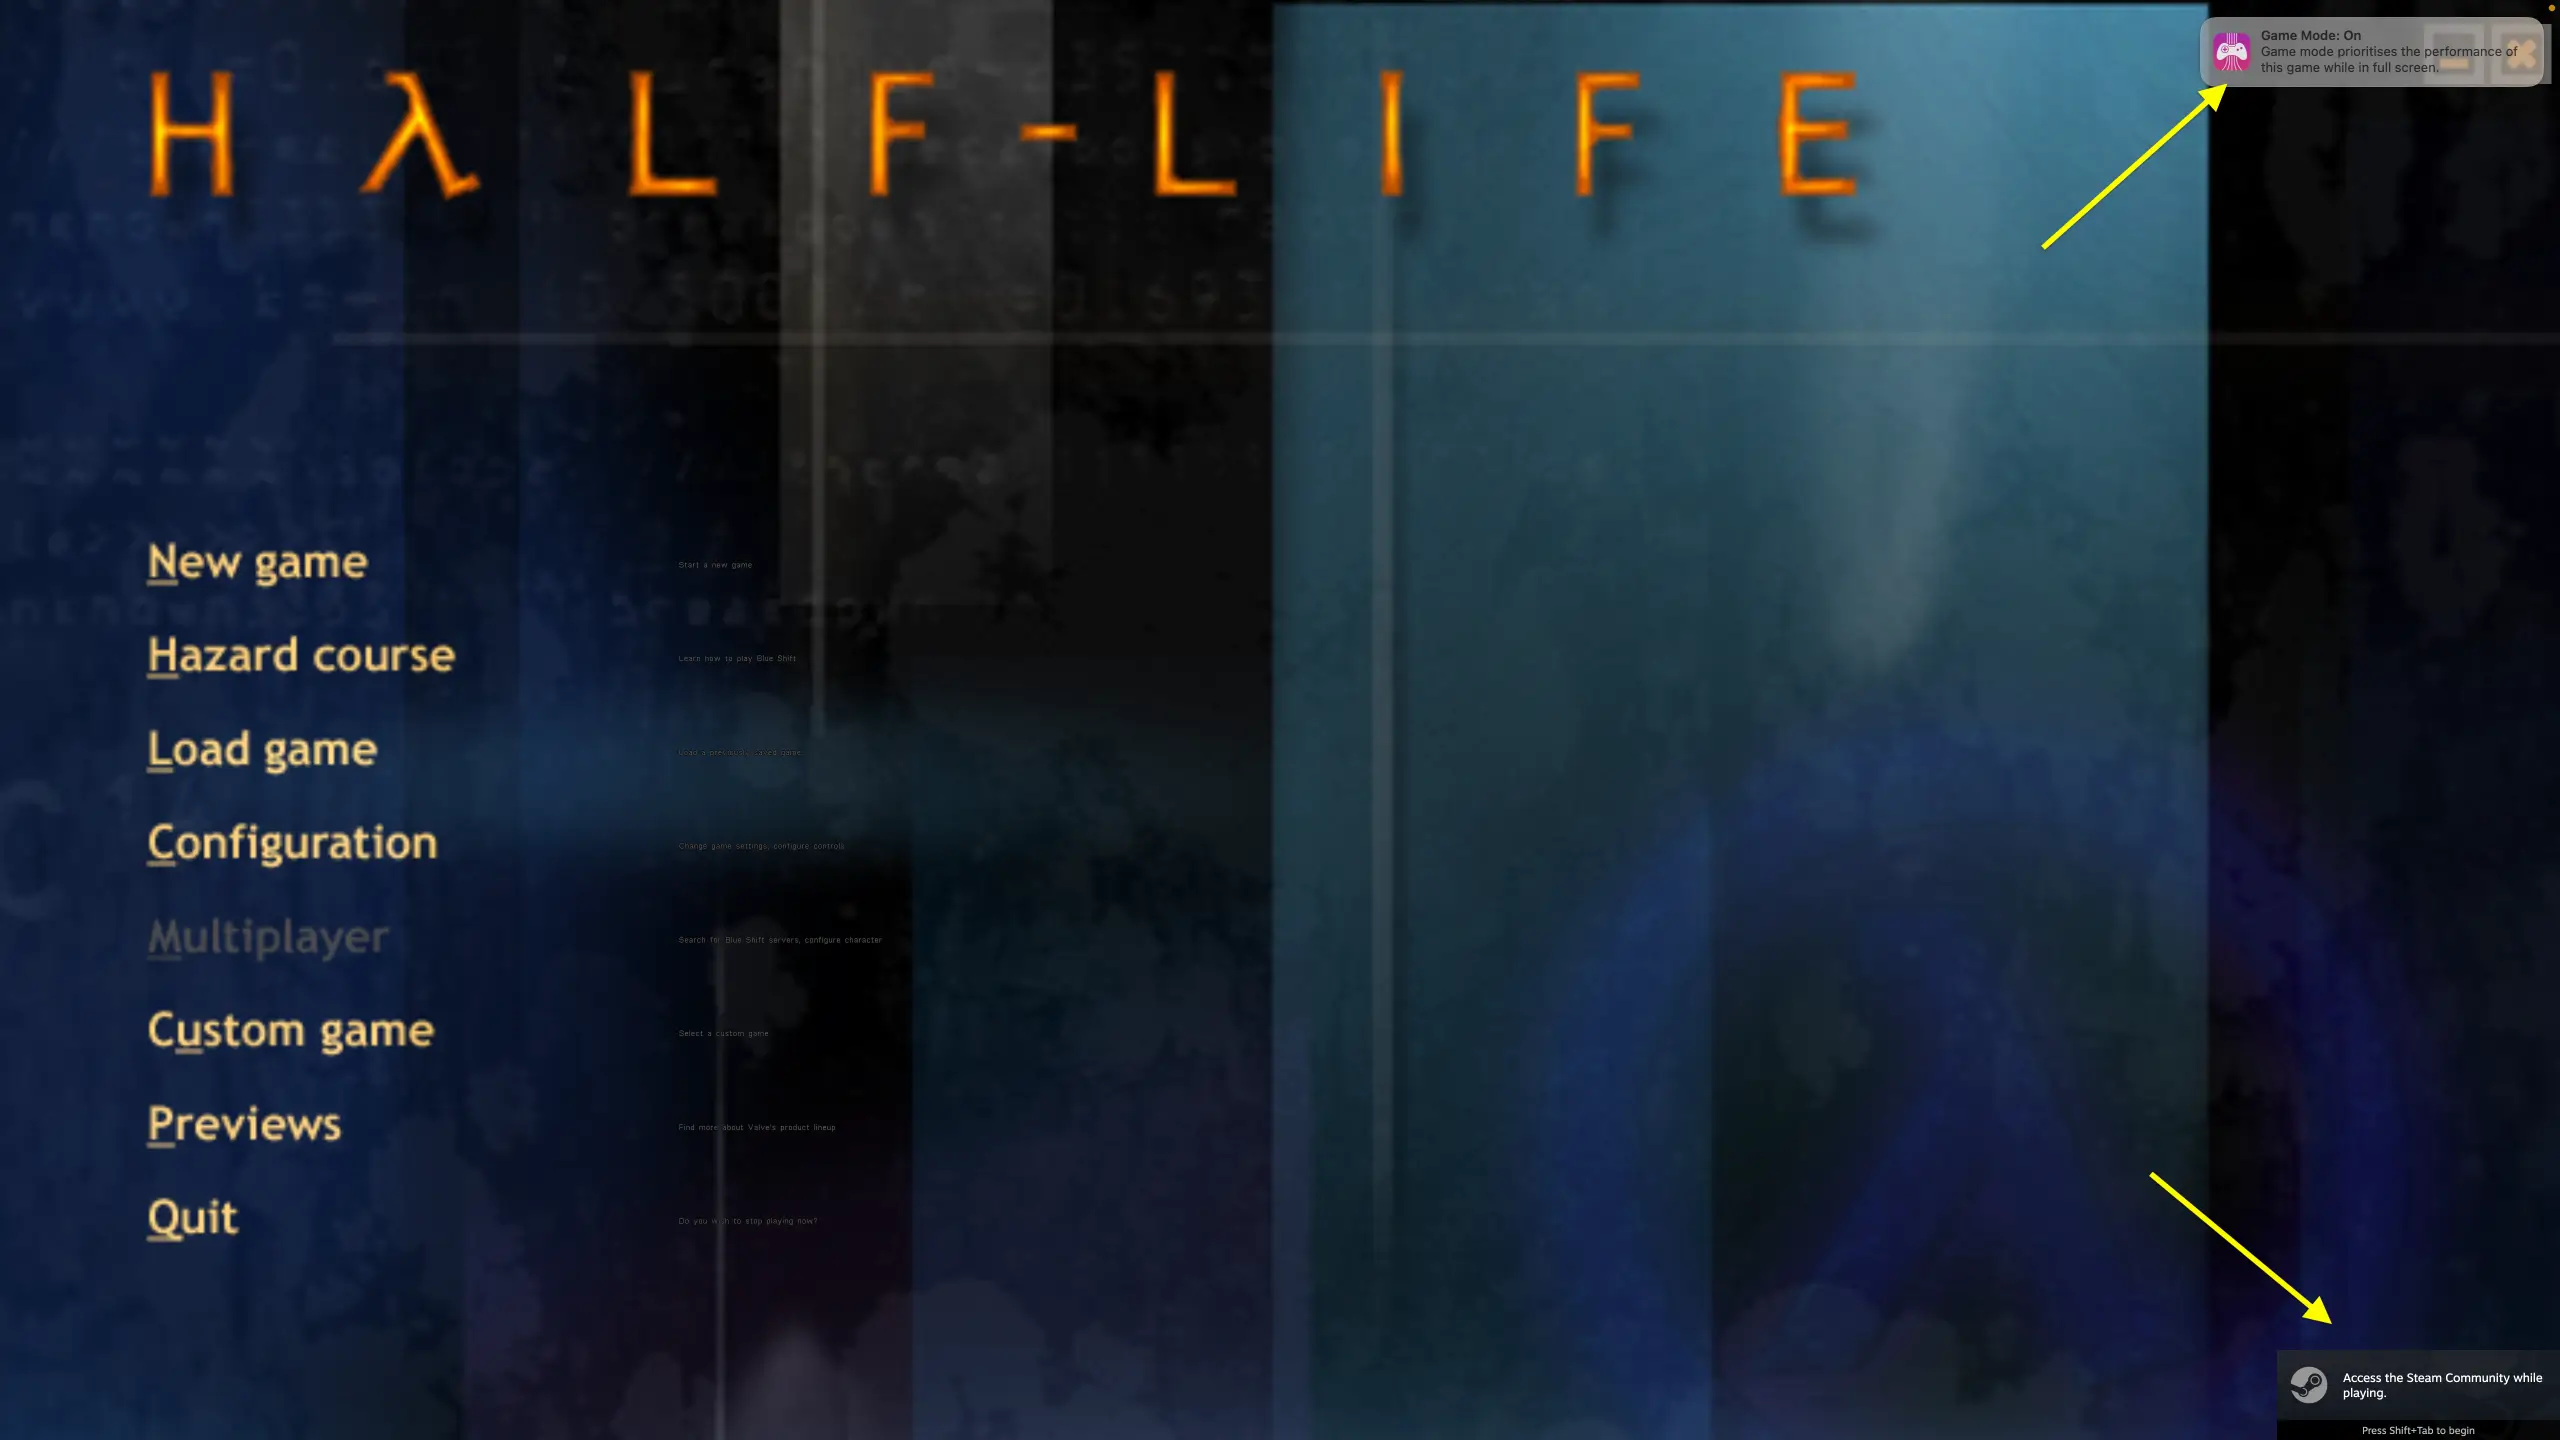
Make the Steam Half-Life game working with Xash3D on your Apple Silicon-Mac
Now while you could simply play the Half-Life game easily using Xash3D standalone already (follow the installation instructions on the Mac Source Port-page), you may want to have it connected to Steam on Mac.
Why even the hassle to play Half-Life on the Mac through Steam?
- It will show to your Steam Friends what you are playing
- Steam will keep track your total playtime for the game
- The Steam Overlay is available in-game
- And last but not least: I noticed that the new macOS «Game Mode» is triggered – which is absent when running the stand-alone Xash3D-FGWS Mac App.
Modifying the installed Half-Life files and folders
In a nutshell, you have to merge the Xash3D files and folders into the downloaded Half-Life game folder in a way, to trick Steam into believing that you started the regular installed version of the game. In order to achieve this, follow below steps.
This may break the game, or break once an update via Steam is being applied. Do these modifications at your own risk & responsibility! Always back up before doing any modifications.
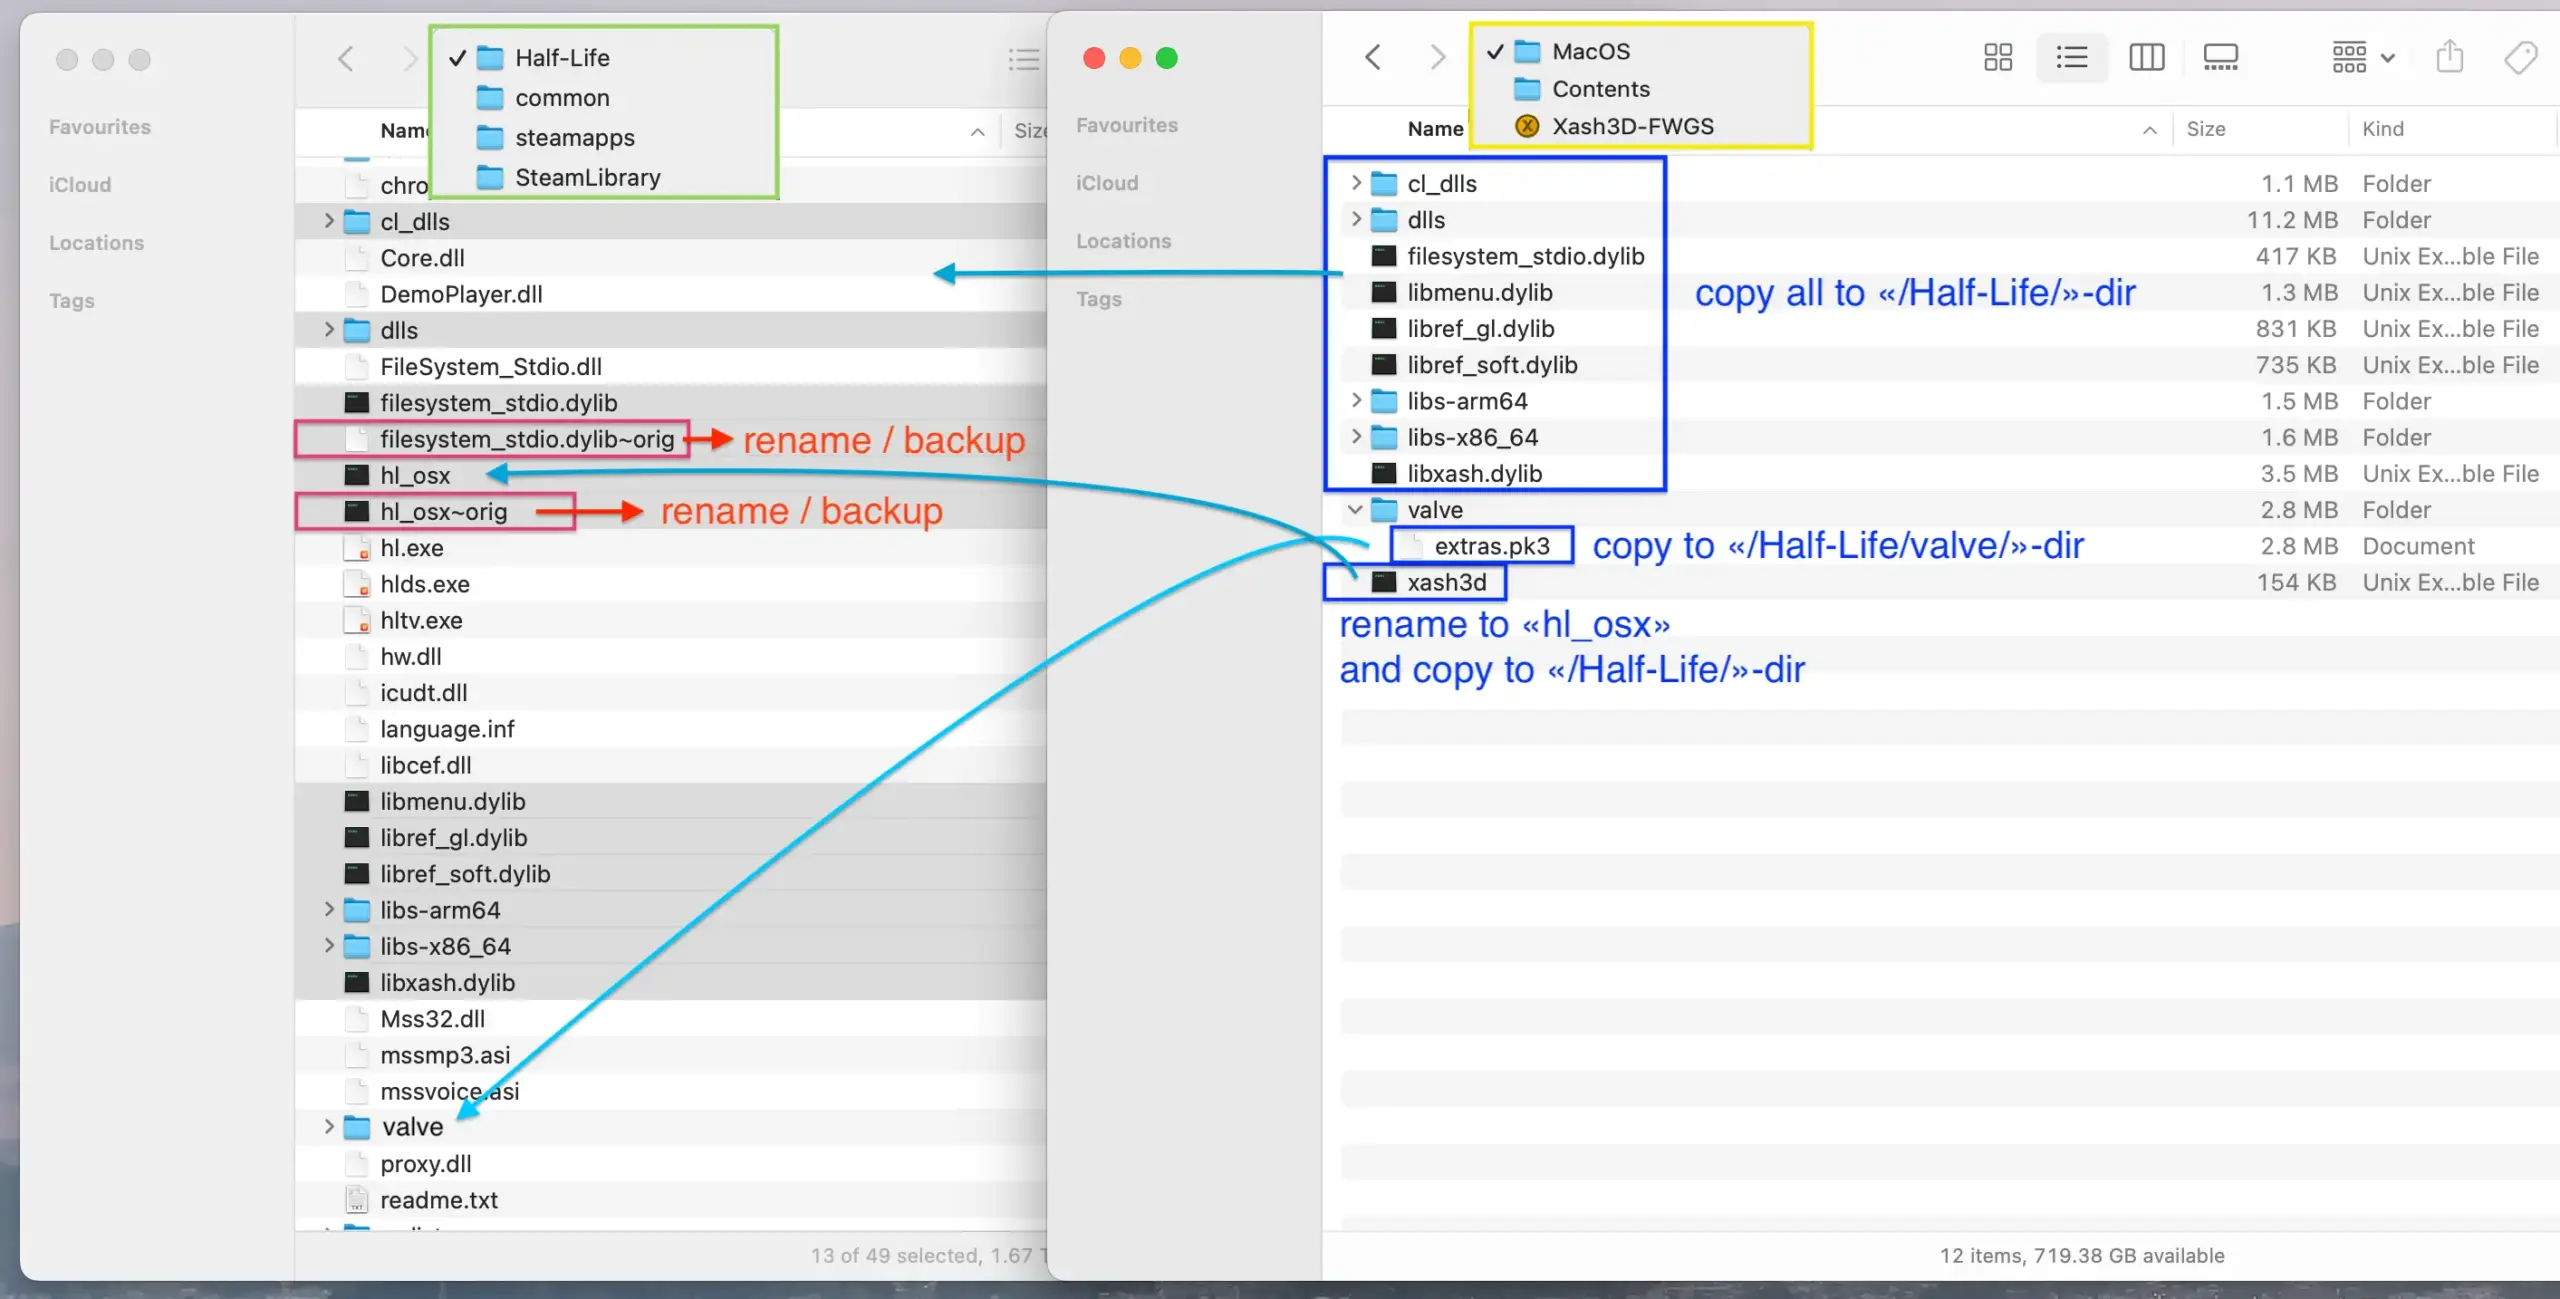
Start by first modifying the «Half-Life» Steam game-folder files
There are some files what will later be replaced by a version from Xash3D – hence they must be backed up / renamed.
- In Finder, open the game folder:
SteamLibrary » steamapps » common » Half-Life - Backup or rename the following 2 files:
hl_osxfilesystem_stdio.dylib
- Keep the Half-Life game folder open, and continue with the next steps below.
Instructions for copying the «Xash3D-FWGS» Mac App Bundle files
With the SteamLibrary’s «Half-Life»-folder still open & ready in Finder, continue as follows:
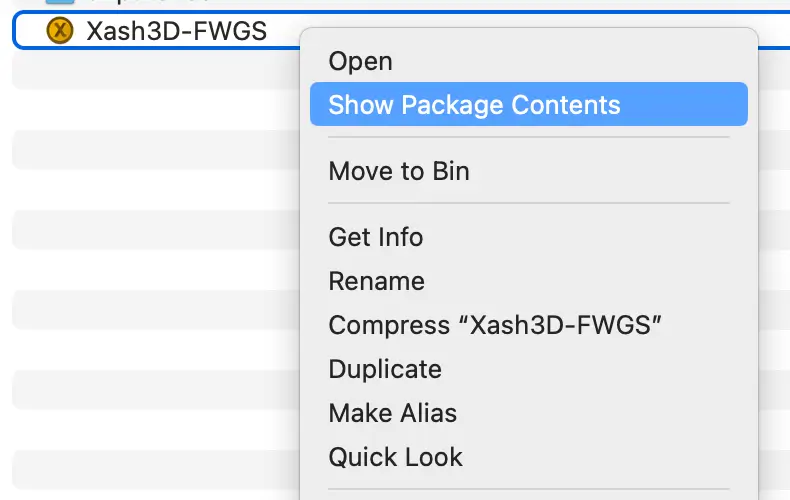
- In Finder, right-click the «
Xash3D-FWGS.app», and choose “Show Package Contents“ - A new window opens, showing the App’s package contents. Navigate to:
Contents » MacOS - Copy the following files to the given destination within the SteamLibrary «Half-Life»-folder:
- Files → copy into the
/Half-Life/-folder rootfilesystem_stdio.dyliblibmenu.dyliblibref_gl.dyliblibref_soft.dyliblibxash.dylib
- Folders → copy whole folder into the
/Half-Life/-folder rootcl_dllsdllslibs-arm64libs-x86_64
- valve-Files → copy into the «
/valve»-folder within/Half-Life//valve/extras.pk3
- Game launcher rename & copy into the
/Half-Life/-folder root- «
xash3d» → as «hl_osx»-file
- «
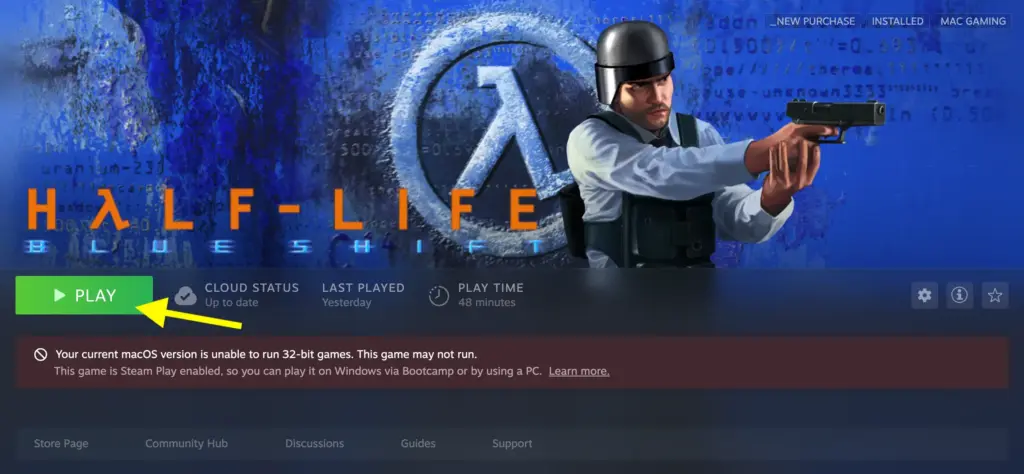
Ready to go: start the modified Half-Life game from Mac Steam
With the modifications applied, you are now ready to run Half-Life natively on your 64-bit macOS and on Apple Silicon ARM-based Macs: it’s time to play!
- Launch Steam on Mac
- Go to the Game Library
- Select «Half-Life» (or «Half-Life Blue-Shift» / «Opposing Force»)
- …and click «PLAY» – the game should now launch successfully!
Pimp up Half-Life with high-definition Textures, Models, and more
[Optional] Modification of game configuration settings
In the SteamLibrary «Half-Life/valve»-folder (or respectively in «…/bshift» or «…/gearbox») there is a file for custom configurations called «userconfig.cfg» (or it can be created).
I can recommend manually adding / modifying the following settings:
- Show the in-game FPS counter:
cl_showfps "1" - Higher FPS cap (or none):
fps_max "100"
There are of course many, many more of these commands… and some dedicated to for Xash3D. Again: use at your own risk!
Mods
I was semi-successful in further patching the Steam «Half-Life» version with high-definition mods. Mainly exchanging the Models seemed to work pretty well; can’t really tell about the Maps; and the Textures do not really seem much better. So try this at your own risk & use the instructions from the corresponding Mods.
- the «Half-Life High Definition 2 Pack»
- plus «Half-Life: ReSrced»


Hey Oliver!
Thanks for writing this whole thing, but it looks like the Xash distributions don’t include libs-arm64 and libs-x86_64 anymore.
What version have you used with it?
Can you forward a link, or maybe share your lib folders?
Hi Nikita,
Thanks for your feedback and pointing this out – will need to revise this then maybe.
I used the MacSourcePorts version as linked, but you can find on GitHub the older Releases: https://github.com/MacSourcePorts/xash3d-fwgs/releases
I assume it was the version from Oct 2, 2023, which was the latest at the time of my article: https://github.com/MacSourcePorts/xash3d-fwgs/releases/tag/v0.20-2023-10-02
– Oliver